Enabling Your ReturnLogic Integration
Integrate ReturnLogic with TryNow.
Getting Started
This guide will walk you through integrating with ReturnLogic by generating an API key and configuring it within the TryNow Merchant Portal.
Step 1: Generate an API Key in ReturnLogic
- Access ReturnLogic Settings
- Navigate to the Settings section in your ReturnLogic account.
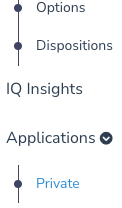
- Scroll to the bottom and locate the Private section under Applications.

- Create a New Private Application
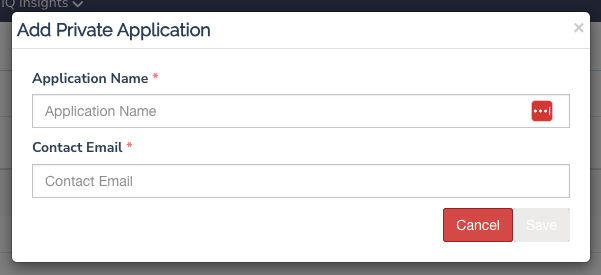
- Click New Private Application.
- Fill out the required fields with relevant information to create your API key.

- Save and Retrieve Your API Key
- After saving, your API key will be displayed. Make sure to copy and store it securely, as it will be required for the next step.
Step 2: Configure the API Key in TryNow Merchant Portal
- Access the Returns Section
- Log in to the TryNow Merchant Portal.
- Go to the Controls section and navigate to the Returns tab.
- Enter Your API Key
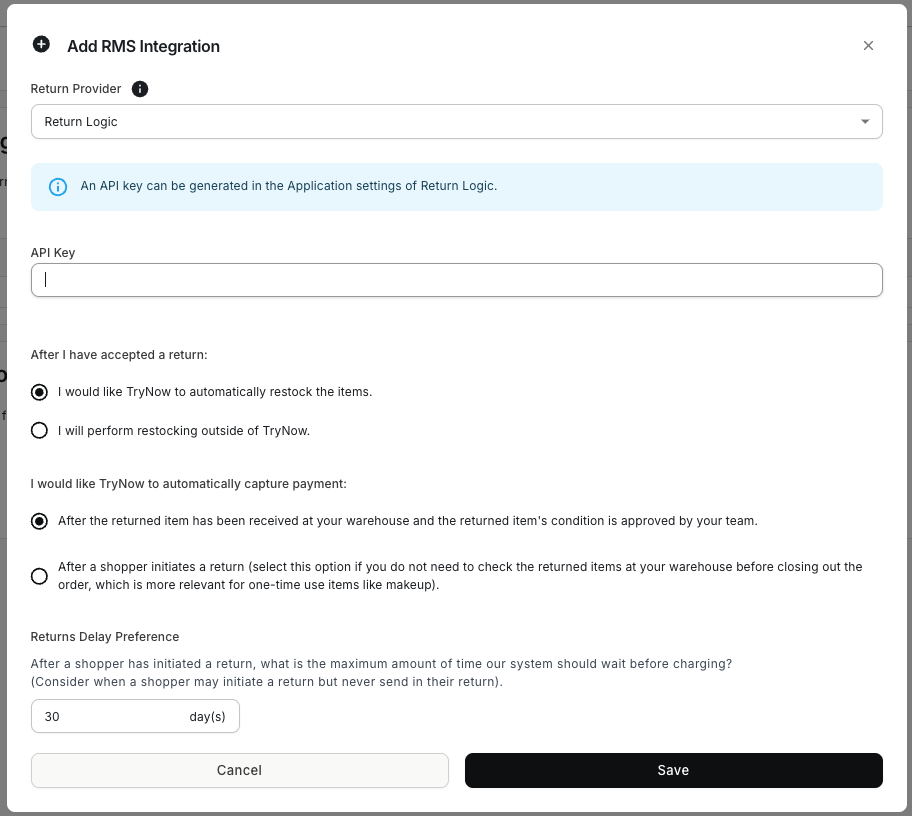
- Click Add Integration
- In the dropdown menu select Return Logic
- Paste the API key you generated in ReturnLogic into the provided field in the Returns section.
- Customize Integration Settings
- Adjust any other relevant settings as needed (e.g., preferences for restocking or capture delays).
- Save Your Changes
- Click Save to finalize the integration. Updates from ReturnLogic will now appear in your Merchant Portal for relevant orders.

Troubleshooting
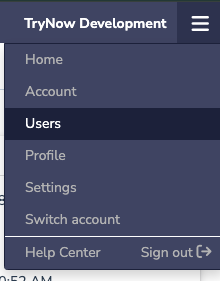
If you're unable to reach the application settings in ReturnLogic, or cannot add a new application: Ensure that your ReturnLogic account permissions allow for App creation and API key generation. Go to the users section and edit permissions.

Glossary
RMS - Returns Management System: System manage and track the returns process.
API - Application Programming Interface: Allows services to communicate, often requiring a text based key for security
Updated 3 months ago